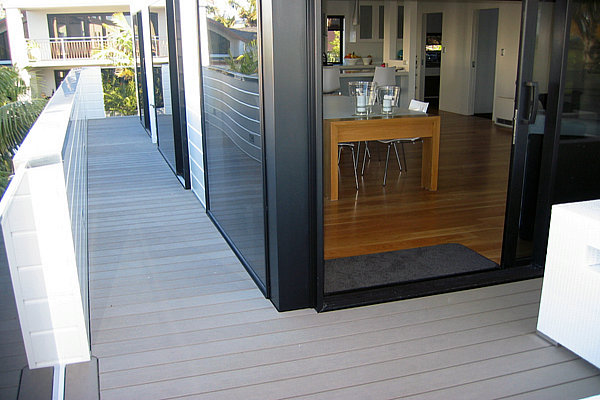
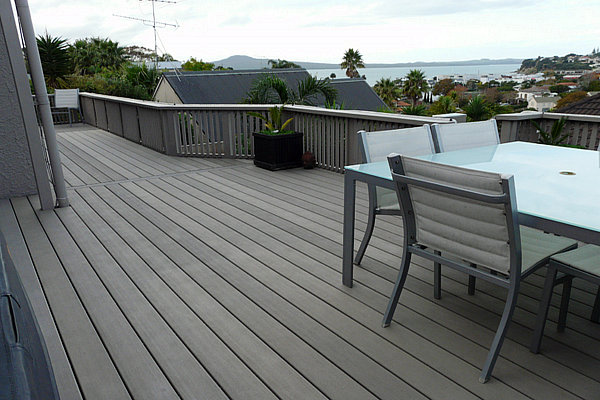
Wood plastic composite flooring is the perfect choice for anyone who's looking to combine style with practicality. A highly popular choice, WPC Decking comes in a whole range of options to suit all styles of interior, both modern and traditional. Composite porch Decking solutions include a choice of the type: engineered or solid; as well as grade, colour, finish and species.
The Best Tongue Groove Porch Decking
Wood plastic composite porch decking, as the name suggests, describes a flooring solution whereby each board has a tongue and a groove. Composite tongue groove porch decking is cut into one long side and one short side of each plank and the tongues protrude on the other two sides. The same is true of the short sides.
Tongue groove porch decking is made up of wood flour and plastic, each of which feature a tongue and a groove. The grooves on tongue and groove wood decking planks are cut into one long side and one short side and the tongues stick out on the other two sides. In its installation, composite porch decking can either be secret nailed, glued down to a suitable sub floor or laid in a floating installation. When fitting a composite tongue groove porch decking, the idea is to fit each tongue into each groove. Once installed, a WPC tongue groove porch decking system results in a smooth and long lasting finish. When it comes to installing composite porch flooring, you can use either the secret nailing method, the glued-down method or in certain instances you could choose a floating installation.

How to Lay a Tongue-and-Groove Wood Floor
Steps:
1. Determine which direction you want the decking to run. Decking is usually installed so that it runs the length of the room for aesthetic purposes, but it depends on personal taste.
2. Remove any baseboards, as the decking needs to be installed close to the wall.
3. Place the underlayment on top of the existing floor or the subfloor, as this will help reduce moisture and squeaking. Staple the underlayment into place so it won't shift.
4. Start at the corner of the room and place the first board with the tongue facing toward the wall. Be sure to leave a gap of about a ½-inch so the floor has room to expand and contract.
5. Place the second board next to the opening so the shorter ends touch, and pull the second piece as close as possible.
6. For a snug fit, grab a small scrap piece of the decking and fit it into the grooves of the last piece. Place a block on the end of the scrap piece and knock it with a mallet a few times until it locks into place. Don't try to knock the wood directly, as it may damage the edge. If a piece is damaged, save it to use later as an end piece.
7. Continue laying down the decking in this manner. It's best not to have the seams line up, so stagger the rows. When you get to the end next to a wall, mark with a pencil how much floor space remains and cut the piece to the appropriate size.
8. To lock the end piece into place, try using a smaller scrap piece of decking. If there isn't enough room in the gap to fit a tool, place a pry bar and pull it into place with the mallet. For any irregular corners, try cutting the flooring with a jigsaw.
9. When all decking is down, reinstall the baseboards.


A total of 0 comments